Artificial insemination refers to depositing the contents of the semen dose through the cervical region of the female reproductive system, using a simple or composite probe in the cranial portion of the cervix (1: traditional), the body of the uterus (2: post-cervical) or the beginning of the uterine horn (3: deep intrauterine).


Several types of guide catheters and probes can be used to perform post cervical insemination:

The type of inner, cannula or probe used in post-cervical insemination is very important, as it has to meet a series of requirements:
– It has to be rigid enough to go through the cervix without difficulty.
– At the same time it has to be flexible enough to bend in case the probe does not go through the cervix in a manner that injures the reproductive tract of the female.

PROCEDURE
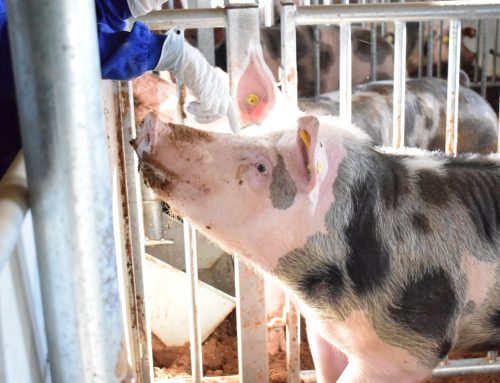
It is recommended to walk the boar in front of the females, perform the heat check process and then perform the insemination. This allows the technicians to identify those females that are truly in heat (use your best heat checkers for this task as it will impact your reproductive results if females are not identified “in heat” correctly).
Once heat checking is completed, the boar is taken away and the insemination of the females can start with the post-cervical technique without the boar present. It is recommended to start the insemination process just after taking away the boar, I.e. start inseminating the females that were first heat checked. Depending on the number of females to be inseminated, you may consider waiting 20-30 minutes after the heat check, with a maximum of 45 minutes, but not longer than that, as females will start to lie down and it will become more difficult to complete inseminations without adding additional stress.
Initially, the tasks are like those of a traditional insemination:
1) Clean the vulva of each female
to be inseminated using a paper towel or wipe do not use the same paper towel on different females. Remove any dirt from the inside of the vulva to the outside so that debris is not pushed farther into the vagina by the catheter.
Make sure the vulva is clean. If not, remaining dirt can easily be pushed inside the reproductive tract

2) Hold the catheter by the handle and carefully apply lubricant gel to the tip. Do not touch the tip and upper part that will be going into the tract.

3) Inserting the catheter:
3.1 Open the vulva with one hand and insert the catheter with the other, making sure the catheter only comes into contact with the inside of the vulva.
3.2 Insert the catheter by pointing the tip upwards (30º angle more or less) to avoid entering the urinary tract.

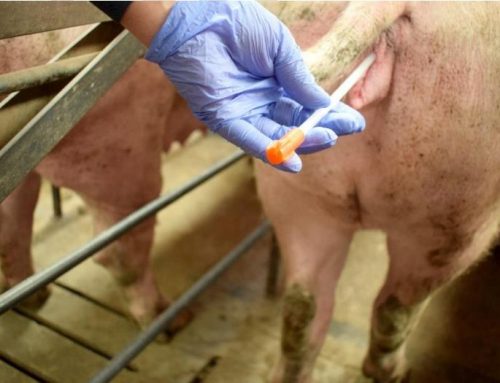
4) Introducing the post cervical probe
After insertion of the “guide” catheter, start inserting the inner cannula/probe very slowly until you start to feel resistance (cervix folds zone), apply a bit of pressure until you feel resistance again, then, wait…apply a bit of pressure again until resistance is encountered. Do this until the probe is fully inserted (in the uterine body), we could use these minutes for introducing more probes in other sows. If you find that the probe is not going through, DO NOT force it through, leave it attached to the cervix folds, wait a couple of more minutes or inseminate the female using the traditional AI technique.

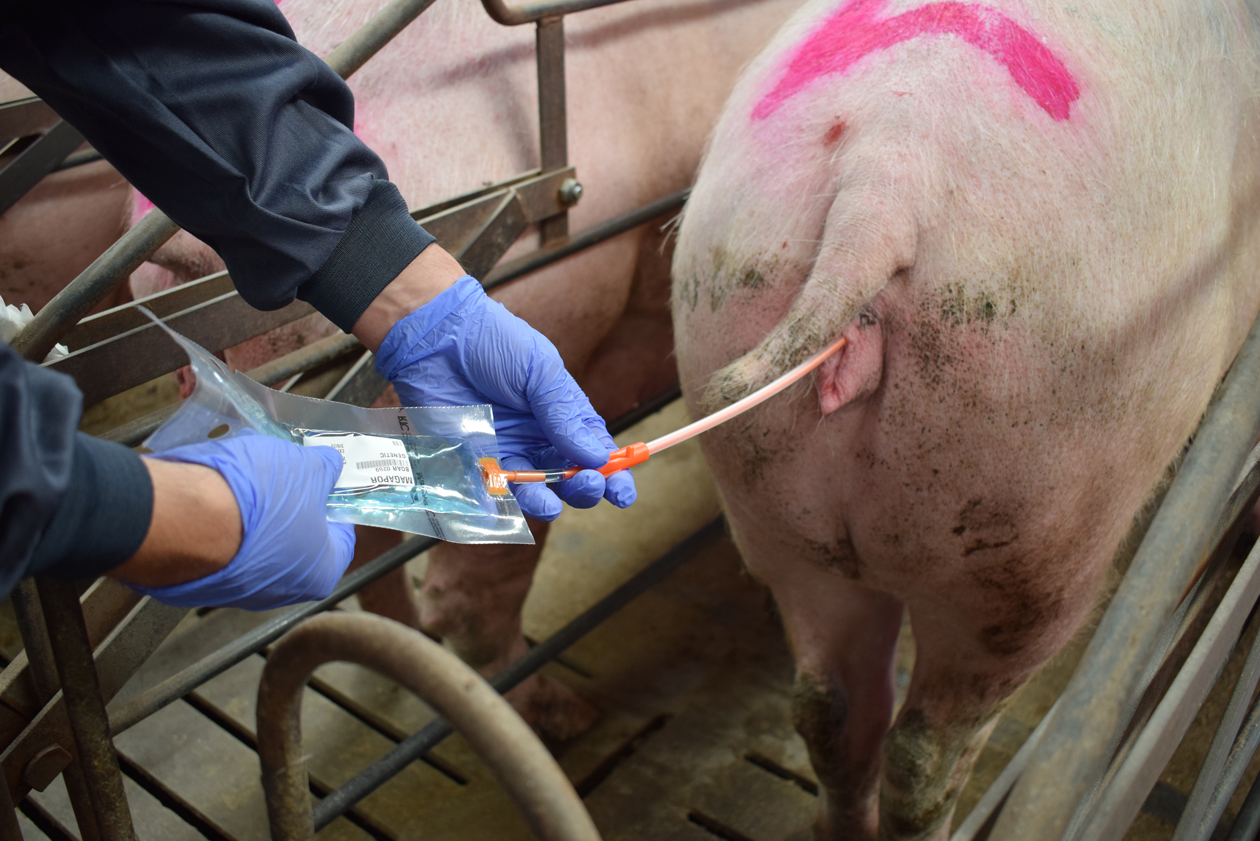
5) Inserting the semen dose:
After proper dose homogenization, simply attach the semen dose to the end of the cannula/probe and squeeze* the contents into the female’s tract.
With this insemination technique, we can squeeze the contents of the semen dose after inserting the inner cannula in the uterus body instead of waiting for the female to absorb it, reducing the time used in each insemination. The content deposition may last 20-30 seconds. If you find the semen is not flowing in, you may need to withdraw the guide catheter and assess if the inner cannula actually went through the cervix.
It is important to use the proper blister size and volume (30ml-45ml) to avoid backflow and sperm oxidation.
*Squeeze the content slowly

6) Finally, the catheter/cannula/probe-dose unit is removed:
Without removing the packaging, remove the guide catheter and the probe together to prevent the dose contents to backflow.

7) Go on to the next female and inseminate:
To maximize insemination times and to be more efficient, several guide catheters can be inserted at the same time, Magapor recommends following the “5-1 technique”.
This method consists of starting cleaning 5 vulves and inserting 5 guide catheters sequentially. Start with the 1st female, introduce the guide catheter, go on to 2nd female, introduce guide catheter, etc.
Once the 5th catheter has been inserted, go back to the first female and start inserting the post cervical probe. Once the 5 probes have been introduced, go back to the 1st female and inseminate, gently remove the guide catheter and the inner probe, and continue with the insemination of the 2nd female, remove both catheters at the same time, and so on. In the case that a probe does not enter, we would not waste time and move on to the next sow, thus leaving some minutes (no more than 15, the process can continue inseminating other sows) to allow relaxation of the cervix before trying to insert the probe again.